
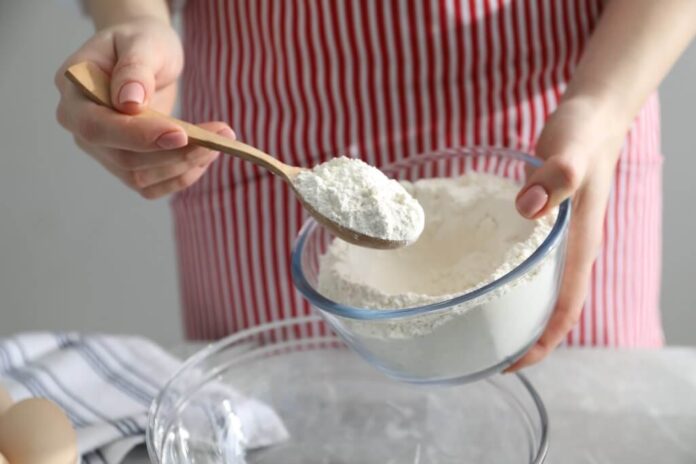
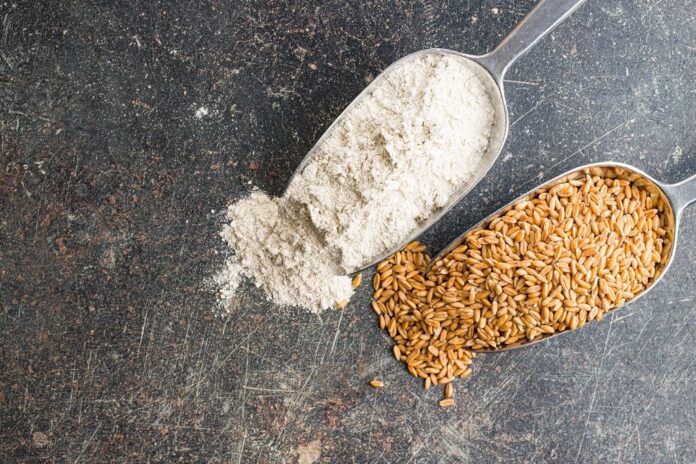
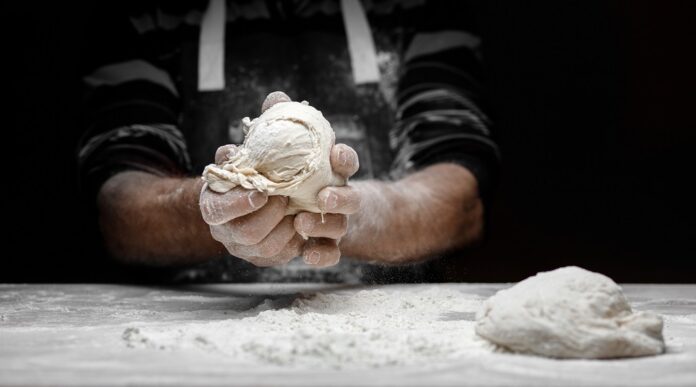
Pastry flour and cake flour sit close together on the baking shelf, so the confusion is understandable. Both are softer than all-purpose flour. Both help reduce toughness. Both are used when tenderness is the goal.
The difference is in how much structure each flour gives. Cake flour is made for very soft, fine-crumb cakes. Pastry flour gives a little more strength, which makes it better for pie crusts, tarts, biscuits, scones and pastries that need tenderness without falling apart.
That small difference changes the result in the oven. A sponge cake made with pastry flour can feel a little sturdier than intended. A pie crust made with cake flour can become too delicate and harder to handle. Neither flour is bad. Each one has a job.
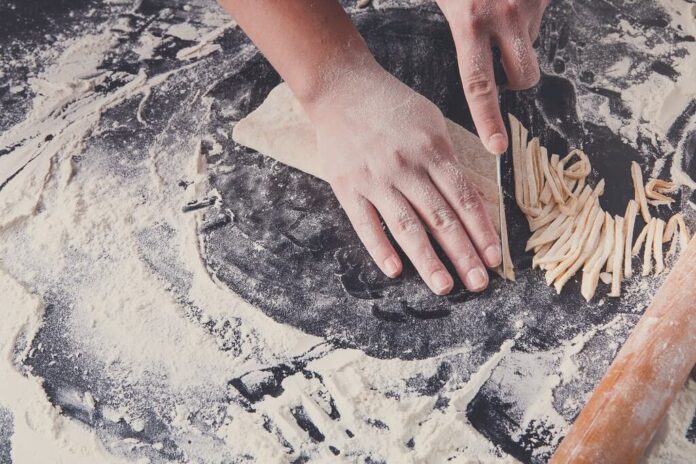
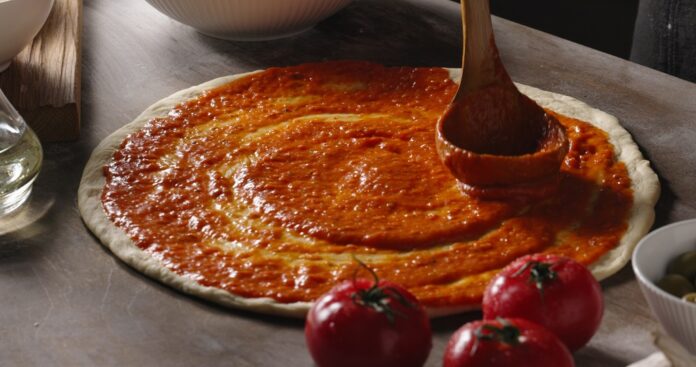
For Antonio Carluccio readers, flour choice usually brings pasta to mind first. In our guide to fresh egg pasta, flour decides how the dough rolls and how much bite it has. Baking works the same way: flour sets the texture before sugar, butter or eggs can do their part.
The Main Difference Is Protein
Protein is the first thing to understand. Flour protein affects how much gluten can form when flour meets liquid and mixing begins. More gluten gives more structure and chew. Less gluten gives tenderness and a softer crumb.
Pastry flour is low in protein, but it still gives more structure than many cake flours. Cake flour is usually the softer choice, made for cakes where the crumb should be fine, light and tender.
King Arthur Baking lists its pastry flour at 8% protein and describes it as useful for delicate pastries such as pie crusts and scones. Its cake flour guidance explains how cake flour substitutes use cornstarch to lower the overall protein content and create a more tender result.
| Flour Type | Typical Protein Range | Texture It Creates | Best Use |
|---|---|---|---|
| Cake flour | Usually about 7% to 10%, depending on brand | Fine, soft, tender crumb | Sponge cakes, chiffon cakes, angel food cake, soft layer cakes |
| Pastry flour | Usually about 8% to 9.5% | Tender but with more structure | Pie crust, tart shells, biscuits, scones, some cookies |
| All-purpose flour | Usually about 10% to 12% | Moderate structure | Everyday baking, cookies, quick breads, simple doughs |
| Bread flour | Usually about 12% to 14% | Chewier and more elastic | Bread, pizza dough, bagels, yeasted doughs |
The numbers vary by brand, country and milling style. That is why the bag matters. Two cake flours can behave differently, and two pastry flours can absorb liquid differently.
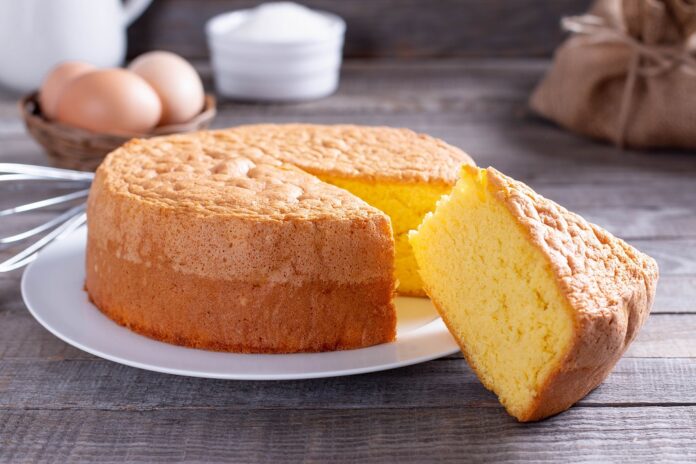
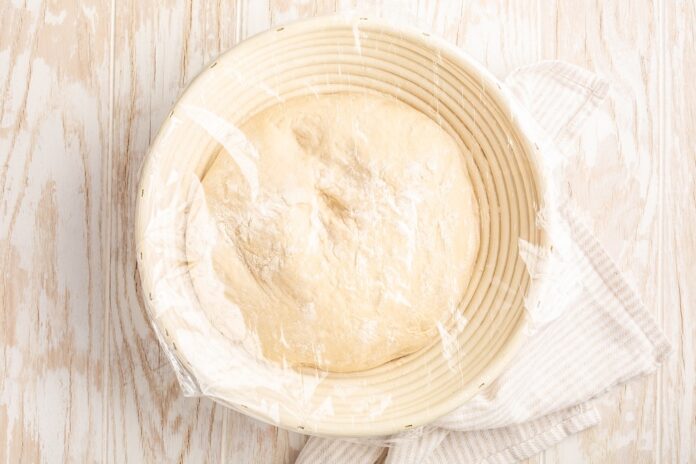
What Cake Flour Does Best
Cake flour is designed for tenderness. It is finely milled and lower in protein than all-purpose flour, so it forms less gluten during mixing. That helps cakes rise with a soft, fine crumb instead of becoming firm or chewy.
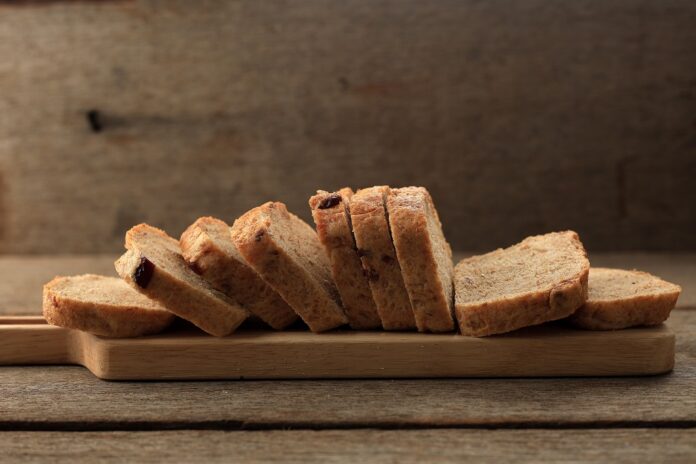
Use cake flour when the recipe depends on softness. A sponge, chiffon cake, angel food cake or very tender layer cake benefits from flour that stays out of the way. The cake should feel delicate, not bready.
Best Uses For Cake Flour
- Angel food cake
- Chiffon cake
- Sponge cake
- Soft vanilla or yellow layer cakes
- Fine-crumb cupcakes
- Delicate tea cakes
- Some soft cookies where tenderness is the goal
Cake flour also helps when a batter contains plenty of sugar, fat and liquid. It supports a light cake without making the crumb tough. That is why it works so well in recipes where the texture should be airy and soft.
For a dessert example from this site, a light sponge such as Torta Paradiso con Mascarpone shows the kind of cake where flour choice has a direct effect on tenderness.
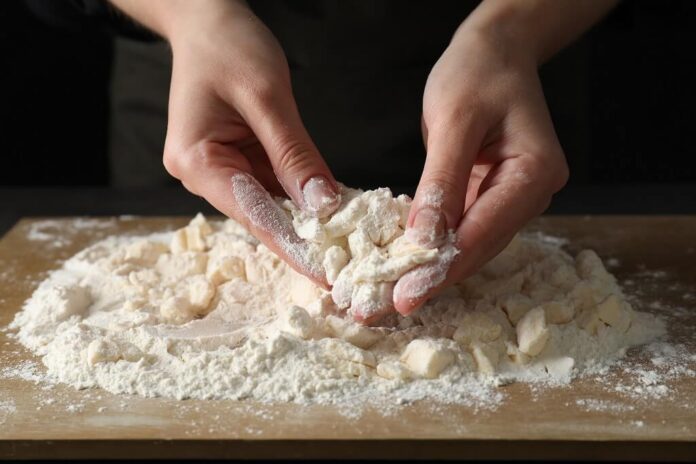
What Pastry Flour Does Best
Pastry flour is also low in protein, but it gives more strength than cake flour. That makes it useful when dough needs to stay tender but still hold shape.
A pie crust needs flakiness, but it also needs enough structure to lift, roll, crimp and hold filling. A scone should be tender, but it should not crumble into dust. A tart shell should bite cleanly without turning hard. That is where pastry flour earns its place.

Best Uses For Pastry Flour
- Pie crust
- Tart shells
- Biscuits
- Scones
- Shortcrust pastry
- Galettes
- Some cookies
- Quick breads with a tender crumb
Pastry flour gives a middle result between cake flour and all-purpose flour. It makes dough more tender than all-purpose flour, but less fragile than cake flour.
Side-By-Side Comparison
The best way to separate the two flours is to think about the final texture.
| Question | Cake Flour | Pastry Flour |
|---|---|---|
| What is the main goal? | Softness and fine crumb | Tenderness with enough structure |
| Best for | Cakes and soft cupcakes | Pie crusts, scones, biscuits and tarts |
| How delicate is it? | Very delicate | More durable than cake flour |
| How does it handle rolling? | Not ideal for most rolled pastry doughs | Better for doughs that need rolling and shaping |
| How does it compare with all-purpose flour? | Much softer | Softer, but still practical for pastry work |
| Best mistake to avoid | Using it for dough that needs strength | Using it for very delicate cakes where cake flour is specified |
If the recipe says cake flour, the writer likely wants a very soft crumb. If it says pastry flour, the writer likely wants tenderness plus structure. That difference is small on paper but noticeable in a finished bake.
Can You Substitute Pastry Flour And Cake Flour?
Sometimes, but the result changes. Cake flour and pastry flour are close enough for some home baking, but they are not identical.
If you use cake flour in place of pastry flour, the dough may become more delicate and harder to handle. That can be a problem for pie crust, tarts and galettes. If you use pastry flour in place of cake flour, the cake may be slightly firmer and less fine in crumb.
Better Substitution Rules
| Recipe Calls For | Best Substitute | What To Expect |
|---|---|---|
| Cake flour | All-purpose flour mixed with cornstarch | Closer to cake flour tenderness than all-purpose alone |
| Pastry flour | Half all-purpose flour and half cake flour | A useful balance of tenderness and structure |
| Pastry flour | All-purpose flour alone | Works in many recipes, but texture may be firmer |
| Cake flour | Pastry flour | Acceptable for some cakes, but crumb may be less fine |
| Pastry flour | Cake flour | Can be too soft for rolled pastry and pie crust |
King Arthur Baking gives a cake flour substitute using all-purpose flour and cornstarch: 3/4 cup plus 2 tablespoons all-purpose flour mixed with 2 tablespoons cornstarch. That works because the cornstarch lowers the overall protein effect and increases tenderness.
How To Make A Cake Flour Substitute
Use this when a recipe calls for cake flour and you only have all-purpose flour and cornstarch.
| Ingredient | Amount |
|---|---|
| All-purpose flour | 3/4 cup plus 2 tablespoons |
| Cornstarch | 2 tablespoons |
Whisk them together very well. For delicate cakes, sift the mixture once or twice so the cornstarch distributes evenly.
By weight, use 105g all-purpose flour and 14g cornstarch as a practical starting point for one cup of cake flour substitute. This is helpful for home bakers who measure more carefully.
How To Make A Pastry Flour Substitute
Pastry flour is harder to imitate perfectly, but a good home substitute is simple: mix equal parts all-purpose flour and cake flour.
| Ingredient | Amount |
|---|---|
| All-purpose flour | 1/2 cup |
| Cake flour | 1/2 cup |
This blend lands between the structure of all-purpose flour and the tenderness of cake flour. It works well for many scones, biscuits, galettes and tart shells.
If you do not have cake flour either, all-purpose flour can still work for many pastry recipes. The result will be a bit sturdier. For pie crust, handle the dough lightly and avoid overworking it.
Why Bleached And Unbleached Labels Can Change The Result
Cake flour is often bleached in the United States, although unbleached versions exist. Bleaching can affect how the flour handles sugar, fat and liquid. That is one reason cake flour can help produce fine, tender cakes.
Pastry flour is often unbleached. It is commonly used where the baker wants tenderness but still wants the dough to roll, shape and brown naturally.
The important point is practical: read the label and follow the recipe when texture is important. A chiffon cake, shortcrust tart and buttermilk biscuit all ask different things from flour.
When All-Purpose Flour Is Enough
All-purpose flour works for many home bakes. Cookies, muffins, quick breads and simple cakes are often forgiving. If a recipe does not specify cake flour or pastry flour, all-purpose flour is usually the expected choice.
Use cake flour or pastry flour when texture is the main point of the recipe. A very tender cake benefits from cake flour. A delicate pie crust or scone benefits from pastry flour. For everyday baking, all-purpose flour remains useful because it balances structure and softness.
| What You Are Making | Best Flour Choice | Why |
|---|---|---|
| Angel food cake | Cake flour | Needs a very soft, fine crumb |
| Layer cake | Cake flour or all-purpose, depending on recipe | Cake flour gives more tenderness |
| Pie crust | Pastry flour or all-purpose | Pastry flour gives tenderness without too much fragility |
| Scones | Pastry flour | Helps keep texture tender but structured |
| Biscuits | Pastry flour or low-protein all-purpose flour | Reduces toughness when handled lightly |
| Cookies | All-purpose or pastry flour | Depends on whether you want chew or tenderness |
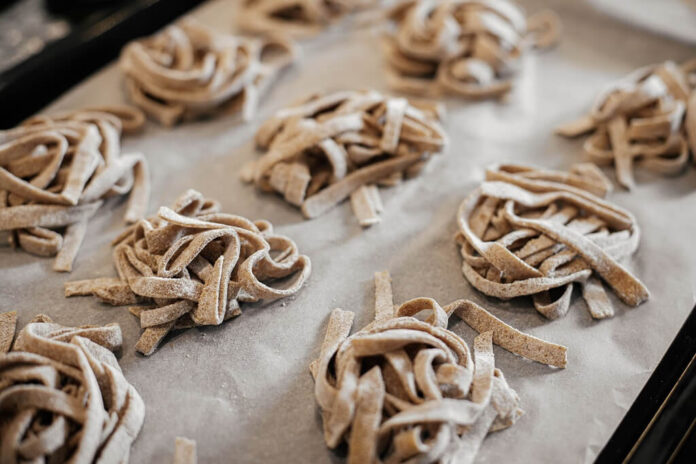
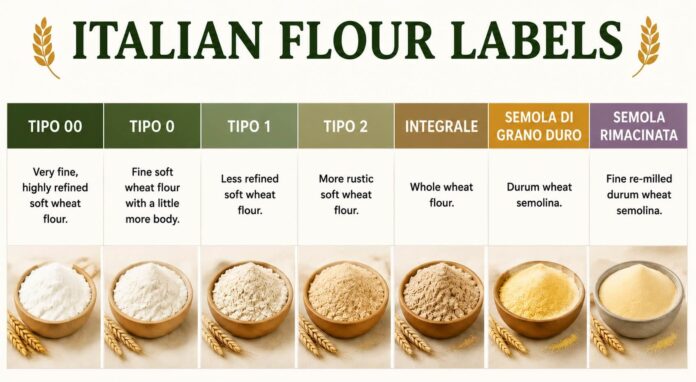
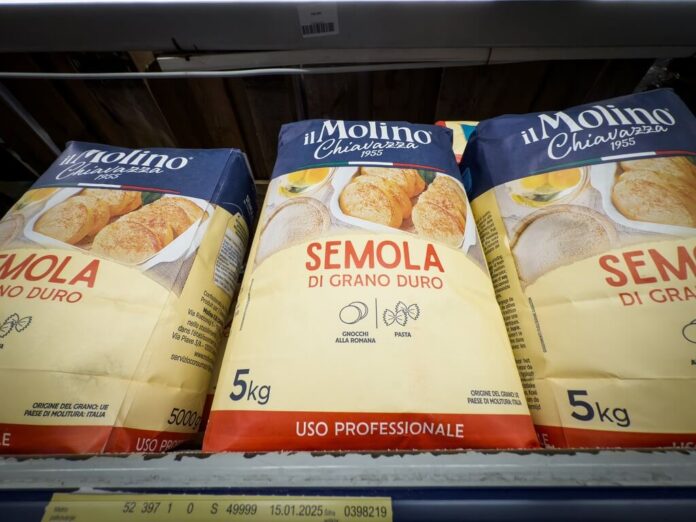
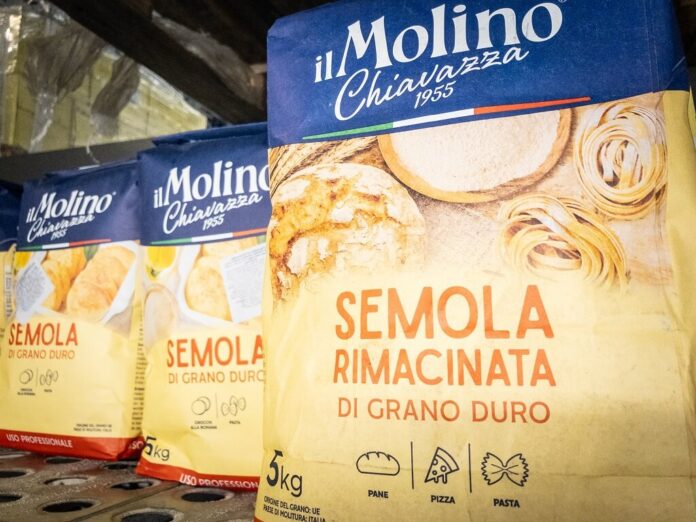
| Pasta | Tipo 00, semolina or pasta flour | Pastry and cake flour are not the best choices for pasta dough |
For Italian cooking, this distinction also helps with pasta. Flour for cakes and pastries is not the same as flour for pasta. Our guide to semolina flour versus all-purpose flour for pasta explains why firm pasta usually needs flour with a different structure than delicate cake flour.
Common Mistakes With Pastry Flour And Cake Flour
Most mistakes come from treating soft flours as interchangeable. They are similar, but the recipe decides how much structure is needed.
- Using cake flour for pie crust and wondering why the dough feels too fragile.
- Using pastry flour for angel food cake and losing some of the fine, airy texture.
- Using all-purpose flour in a very delicate cake without adjusting expectations.
- Overmixing low-protein flour and still creating a tougher texture than intended.
- Measuring by packed cups instead of lightly spooned cups or weight.
- Using pastry flour for bread dough, then getting weak structure.
- Using cake flour for pasta dough, which lacks the bite and structure pasta needs.
Low-protein flour helps with tenderness, but technique still matters. Overmixing, too much flour on the board, warm butter in pastry dough or poor measuring can ruin the texture even when the flour choice is right.
How To Store Pastry Flour And Cake Flour
Both flours should be kept dry, sealed and away from heat. A cool pantry is usually fine for short-term storage. If you bake slowly and keep flour for months, use an airtight container.
Whole wheat pastry flour needs more care than white pastry flour because it includes the germ, which contains natural oils. Store whole wheat pastry flour in the refrigerator or freezer if you will not use it quickly.
| Flour | Best Storage | Warning Signs |
|---|---|---|
| Cake flour | Airtight container in a cool pantry | Musty smell, clumps, insects |
| White pastry flour | Airtight container in a cool pantry | Stale smell, moisture, insects |
| Whole wheat pastry flour | Fridge or freezer for longer storage | Bitter, oily or rancid smell |
FAQs
pasta doughs.Bottom Line
Pastry flour and cake flour are close, but they do not do the same job. Cake flour is best when the goal is a very soft, fine cake crumb. Pastry flour is better when dough needs tenderness plus enough structure to roll, shape or hold filling.
Use cake flour for sponge cakes, angel food cakes, chiffon cakes and soft layer cakes. Use pastry flour for pie crusts, tarts, biscuits, scones and delicate pastry doughs. Keep all-purpose flour for flexible everyday baking.
Once you match the flour to the texture you want, baking becomes easier to control. The bag of flour is not just a dry ingredient. It is the first decision about whether the final bake will be airy, flaky, tender, sturdy or somewhere in between.


