
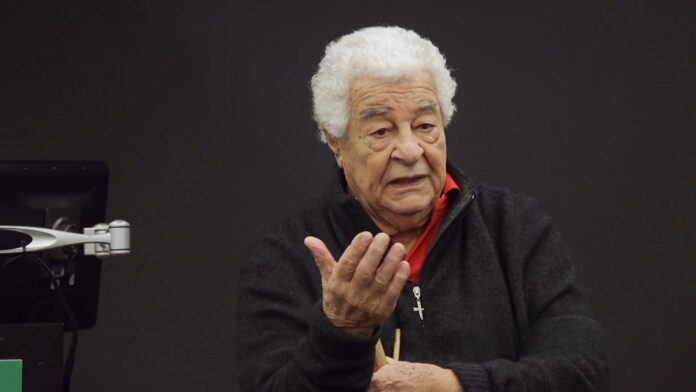
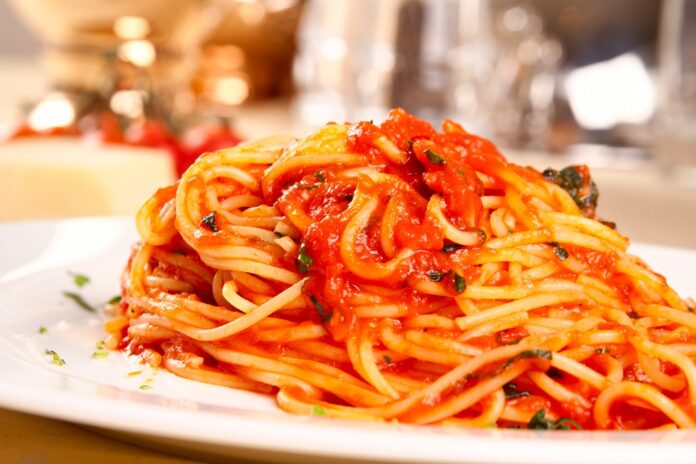
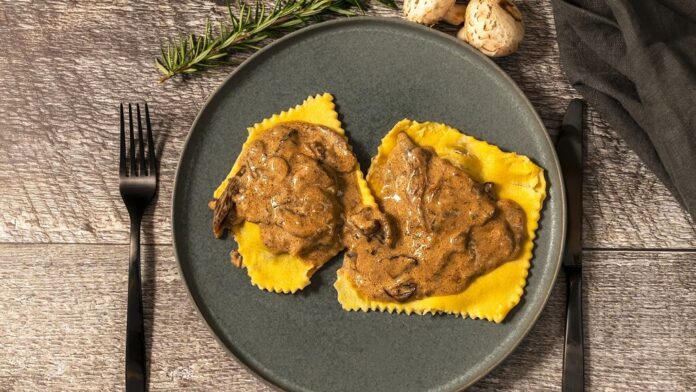
Antonio Carluccio was never only a celebrity chef. He was a writer, restaurateur, shopkeeper, mushroom hunter, television personality and one of the people who helped Britain understand Italian food beyond red sauce and heavy plates of pasta.
He was born in Vietri sul Mare, on the Amalfi Coast, on April 19, 1937, and died in London on November 8, 2017, at the age of 80. By the time he died, Carluccio had become one of the most recognizable Italian food figures in Britain, with restaurants, books, television programs and a public image built around regional cooking, good ingredients and plain-spoken warmth.
The Wealth Antonio Carluccio Left Behind
An estimated net worth is $100 million. That figure should be treated as an estimate, not a confirmed estate value. Carluccio was a private individual, and there is no widely cited public filing that proves an exact personal fortune.
The estimate is still understandable when looking at his career. Carluccio built wealth from restaurants, books, television, consulting, food retail and the brand that carried his name. The largest business connection was the Carluccio restaurant and food-shop chain, which began from a deli idea and later became a well-known high-street name.
The company value and Carluccio personal wealth should not be treated as the same thing. A brand can be valued highly while the founder personal holding changes over time through investors, sales, directorship changes, consulting roles and ownership restructuring.
For readers looking for the safest answer, the clean version is this: Antonio Carluccio was a highly successful chef and businessman, and published net-worth estimates place him in the multi-millionaire category, but the exact personal figure remains unverified.
Early Life In Italy
Carluccio grew up with a deep connection to food before it became a career. The official Antonio Carluccio biography says he was born on the Amalfi Coast and later raised in the wooded north-west of Italy, where his interest in mushrooms and foraging began at a young age.
That detail matters because mushrooms became one of his lifelong passions. He was not a chef who learned Italian cooking only through restaurant technique. His knowledge came from regions, seasons, forests, markets and family food culture.
Before becoming a major food figure in Britain, Carluccio lived in Vienna, Germany and other parts of Europe. He worked with languages and wine before settling into the food world that would define his public life.
From Wine Merchant To London Restaurateur
Carluccio arrived in the United Kingdom in the 1970s and first worked in Italian wine. That background gave him a practical understanding of regional Italy at a time when many British diners still had a narrow idea of Italian food.
His major London chapter began at Neal Street Restaurant in Covent Garden. The official biography says he took over Neal Street in 1981, and the restaurant traded for 26 years. It became one of the key London places for Italian food, not because it was flashy, but because it treated regional dishes, ingredients and wine as the main story.
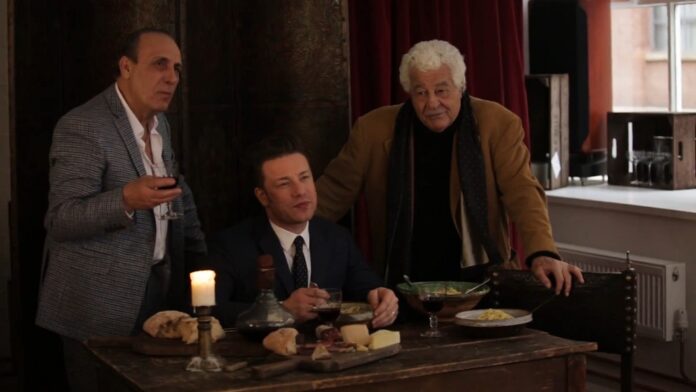
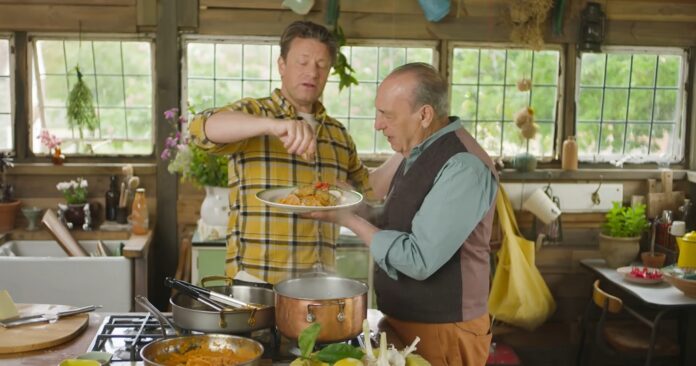
Neal Street also became part of British food history because it helped shape younger chefs. Our earlier article on how Antonio Carluccio influenced Jamie Oliver explains how Jamie Oliver worked there early in his career and how Gennaro Contaldo became part of the same culinary line.
The Birth Of The Carluccio Brand
In 1991, Antonio and Priscilla Carluccio opened an Italian food shop on Neal Street. The idea was simple but powerful: sell proper Italian ingredients, make them understandable to British shoppers, and bring restaurant knowledge into retail.
The Carluccio brand history describes the shop as the starting point for a business built on regional Italian products and carefully sourced ingredients. In 1998, the first Carluccio Caffè opened in Market Place, London, according to the official Antonio Carluccio biography.
The model worked because it joined three things British diners wanted at the time: a casual restaurant, a deli-style shop and a trusted Italian name. It was accessible without being careless. People could eat pasta, buy oil, take home jars and feel closer to the food culture Carluccio had spent years explaining.
By 2010, the Carluccio business had grown into a valuable restaurant group. Public reports at the time placed the Landmark Group takeover value at about £90 million. That figure shows the strength of the brand, although it should not be confused with Carluccio personal net worth.
Books, Television And The Public Antonio
Carluccio wrote widely about Italian food, with books covering pasta, mushrooms, regional cooking, vegetables and home-style recipes. Our guide to Antonio Carluccio books gives a closer look at his publishing work and why his writing still matters to readers who want more than celebrity-chef branding.
His television work made him familiar to a wider audience. He appeared on BBC food programs and later became especially loved for Two Greedy Italians, the BBC series he made with Gennaro Contaldo. The program worked because the two men were not only cooking. They were arguing, remembering, laughing and looking at the Italy they had left behind.
That combination suited Carluccio. He could be scholarly about mushrooms and regional food, then suddenly become funny, sharp or tender. His public style was part teacher, part uncle, part old-world restaurateur.
Why People Called Him The Godfather Of Italian Gastronomy
The nickname followed Carluccio because he made Italian food feel both serious and approachable. He did not present it as luxury theater. He presented it as culture, memory, ingredients and technique.
At a time when Italian food abroad could easily be reduced to pizza, pasta and red sauce, Carluccio insisted on regional difference. Piedmont was not Sicily. Campania was not Emilia-Romagna. Mushrooms, olive oil, pasta shapes, cured meats, cheeses, herbs and seasonal vegetables all had stories.
That was his lasting contribution. He made people curious. He pushed British diners and home cooks to look past generic Italian food and ask better questions about where a dish came from and why it was cooked that way.
Awards And Honours
Carluccio received major recognition from both Italy and Britain. The Italian government awarded him the Commendatore Ordine al Merito della Repubblica Italiana in 1998 for his contribution to Italian food. In 2007, he was appointed an honorary OBE for services to the catering industry.
He also received the AA Lifetime Achievement Award in 2012, recognizing a career that had moved through restaurants, books, television, food retail and mentorship.
The honours mattered because they showed how widely his work was understood. Carluccio was not only a restaurant operator. He became a cultural ambassador for Italian food.
Personal Life
Carluccio was married three times. His third wife was Priscilla Conran, with whom he built an important part of the business story around Neal Street and the Carluccio shop.
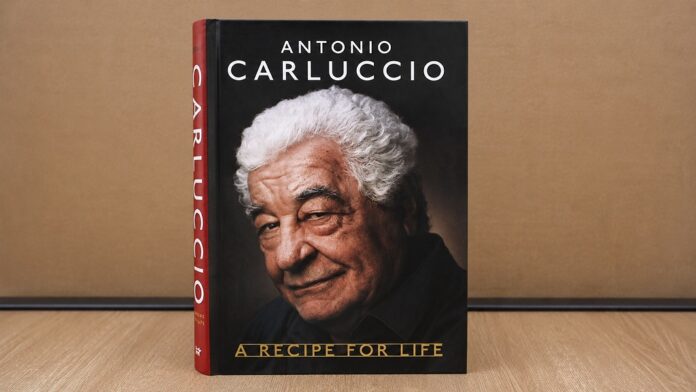
His later years were not without difficulty. He spoke publicly about depression and personal struggle, and his autobiography A Recipe for Life gave readers a more honest look at the man behind the public warmth.
That honesty is part of why people still respond to him. He did not fit the polished celebrity-chef mold. He could be charming, stubborn, generous and deeply serious about food, sometimes all in the same appearance.
Death And Funeral
Antonio Carluccio died on November 8, 2017. Contemporary reports described him as one of the great figures of Italian cooking in Britain, and tributes came from chefs, restaurateurs, broadcasters and diners who had grown up with his work.
Our earlier coverage of Antonio Carluccio death and the article on celebrity chefs at Antonio Carluccio funeral both show how widely he was mourned within the food world.
The strongest tributes focused less on fame and more on influence: the chefs he helped, the ingredients he championed, the books he left, and the way he gave Italian food a fuller voice in Britain.
The Archive That Keeps His Work Alive
Carluccio legacy is also preserved beyond restaurants and television clips. The Antonio Carluccio Library and Archive at Oxford Brookes University contains his published works and personal culinary library, with a collection especially rich in regional Italian food, foraging and mushrooms.
The Antonio Carluccio Foundation says the archive includes more than 800 books, mementos, sketches and notes connected to his life and work.
That archive is important because Carluccio was not only a television personality. His knowledge lived in notes, books, recipes, menus and research. Preserving that material keeps the serious food scholar visible behind the famous name.
What Antonio Carluccio Left Behind
| Part Of His Legacy | Why It Matters |
|---|---|
| Neal Street Restaurant | Helped define serious Italian dining in London and shaped chefs who came after him. |
| Carluccio brand | Brought Italian food retail and casual dining to a wide British audience. |
| Cookbooks | Recorded his knowledge of pasta, mushrooms, vegetables and regional Italian food. |
| Television | Made his personality and food philosophy familiar beyond restaurant diners. |
| Mentorship | Linked figures such as Gennaro Contaldo and Jamie Oliver to a wider Italian cooking tradition. |
| Archive | Preserves his research, books and culinary notes for future readers and scholars. |
FAQ About Antonio Carluccio
Bottom Line
Antonio Carluccio net worth is difficult to prove with certainty, but his influence is much easier to measure. He built restaurants, wrote important books, helped create a major Italian food brand and taught British audiences to look at Italian cooking with more curiosity and respect.
His finest legacy is not a number. It is the way he made Italian food feel rooted, regional and human. That is why the name Carluccio still carries weight years after his death.


")


